Adding files
The file manager allows you to sort and use files on your website.
- Hover over the Content tab at the top.
- Select Files from the drop down menu
This will open up in a new window and you then have the option to either Upload Files or add a New Folder. You can either upload files directly to the root of the file manager or you can create folders to organise your files.
Adding a new folder
Folders are a good way to organise your files, so you can easily find them again. You can create new folders by clicking the New folder button.

Uploading files
Once in the desired folder, click on the Upload files button.

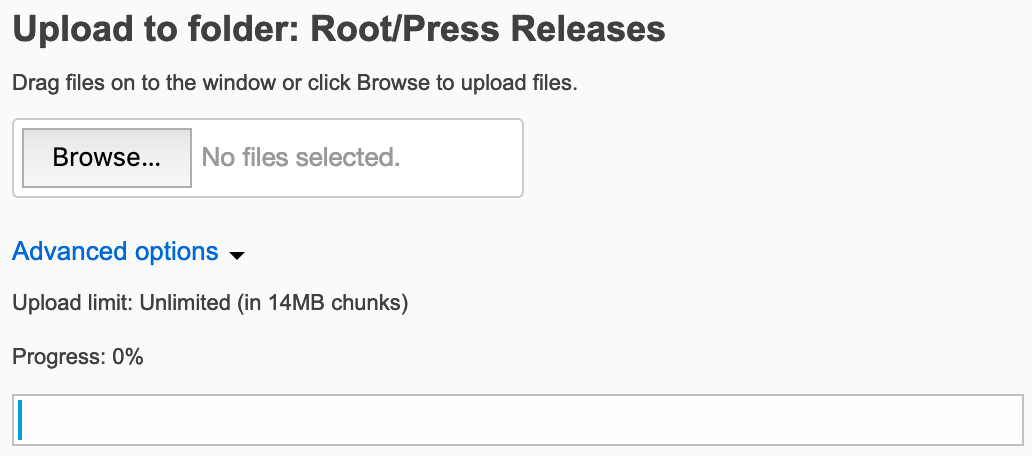
This will display the upload interface.

You can either drag files onto the window or click Browse to upload files. Simply select the files you would like to upload and then click Open.
Once the files have run through the upload, they will appear in the folder.
Switching Views
There are two ways to browse the files in the file manager. You can choose between a list or icon view by clicking the Switch View icon at the top of the window.

List view This is great for finding a file fast. You can even click on any of the table headers and choose to show the most recent or oldest file.
Icon view This allows you to see a thumbanail of image files, and works in the same way you would add a file to a folder on your computer.
Searching for files
Use the search button if you know the name of the file you are looking for. Search results appear in the main window like a folder.

Rename and replace
The file manager also comes with the option of renaming or replacing files.
This is an easy way to edit a file without having to worry about it breaking the website. The CMS will automatically apply your changes throughout the whole site.
Edit
 This will allow you to edit the file name.
Replace
 This allows you to update a file. The benefit of replacing over adding a new file is you will not need to amend the file path if the document is being used somewhere on the website.